Building a New Loader Bucket
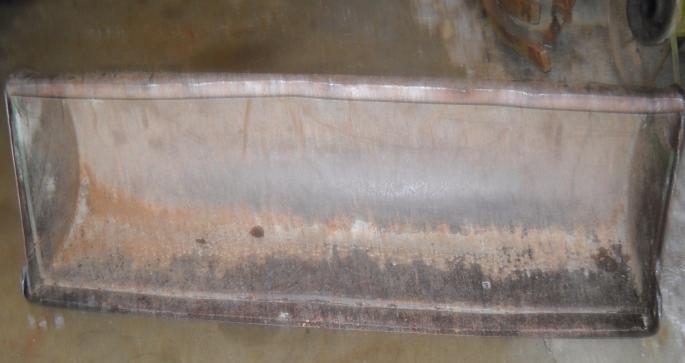
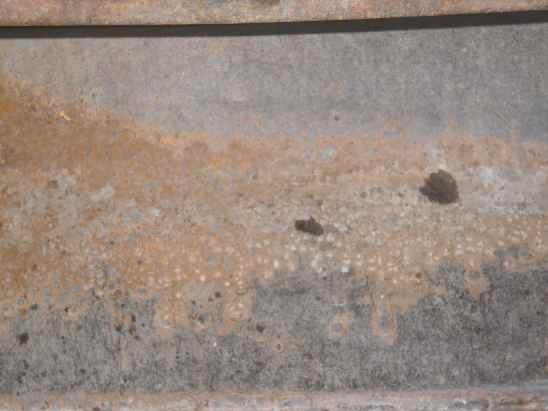
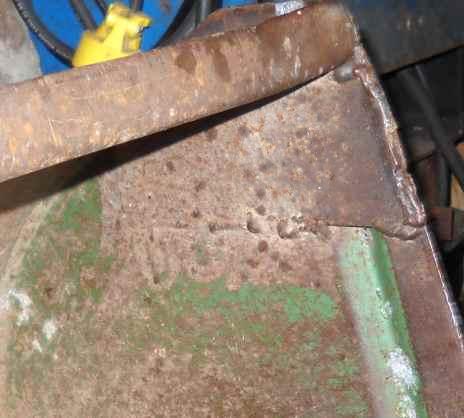
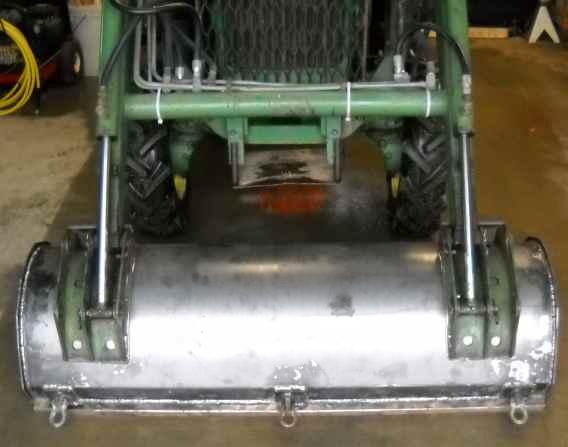
The old bucket on my John Deere #67 loader had a long and difficult life, and was worn completely out, bent, welded, cutting edge broken, holes worn plumb through the bottom:
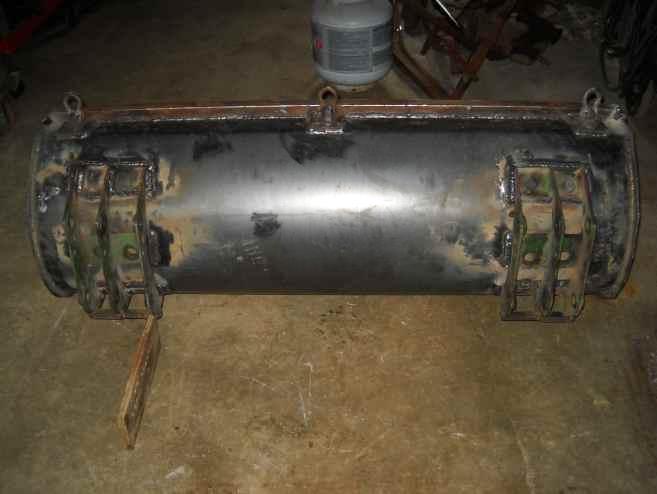
New buckets from JD are no longer available, so my only choice was to "roll my own". I took the old bucket up to a local steel supplier and had them roll a new body out of black iron sheet and cut some end plates out for me.

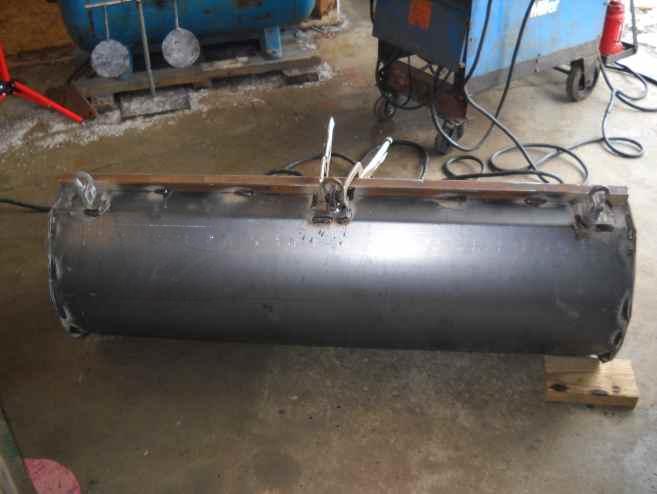
I dry-fit the body and the ends, checking for square and parallel, then tacked everything in place.
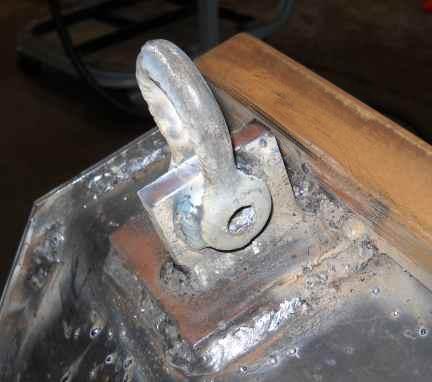
The next step was to weld a piece of 1" heavy wall square tubing across the top to stiffen things up. At the same time, I welded on some lifting eyes as I often use the bucket as a hoist (which is part of why the old one was so beat up...)
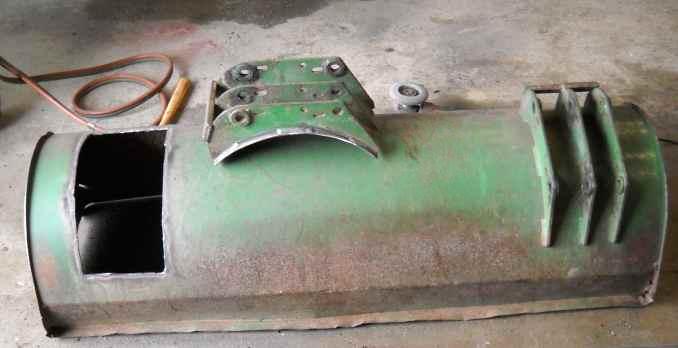
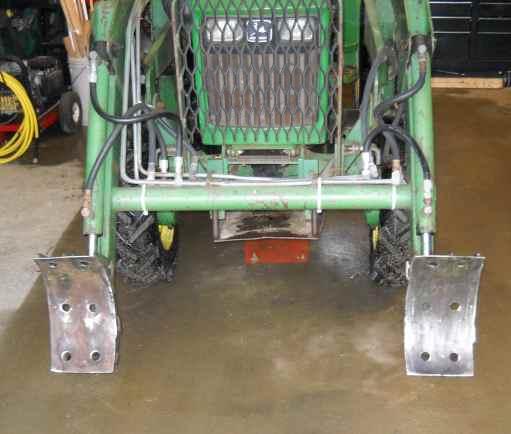
Then, I cut the mounting brackets off the old bucket to use on the new bucket.
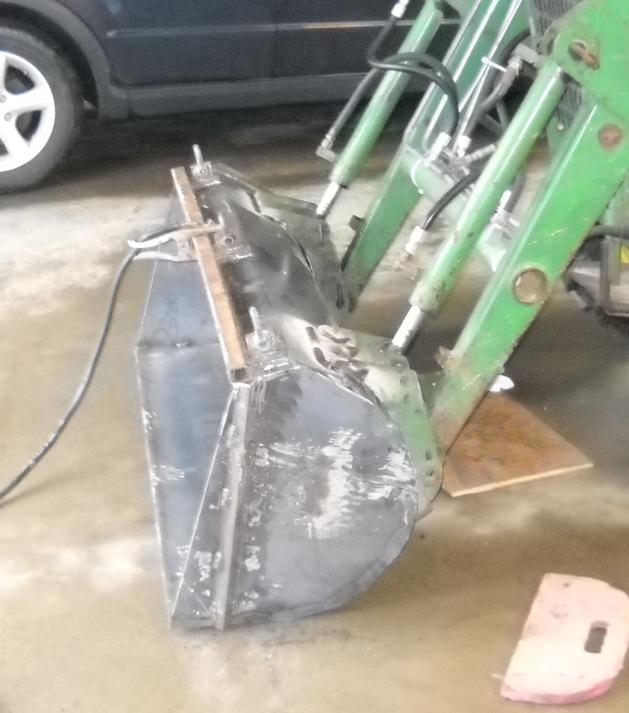
I used an old piece of snow plow edge for the new cutting edge. This stuff is harder than Chinese Arithmetic, and a pain to weld. It's high carbon steel, and the heat of welding causes carbon migration to the joint and makes the area around the weld very brittle. It usually breaks around the weld.

I welded in short stitches to keep the heat down, clamped the heck out of it to keep things from warping, and spent most of a day getting a continuous bead on both sides. I've been using the bucket for a while now, and have not had any issues with cracking.
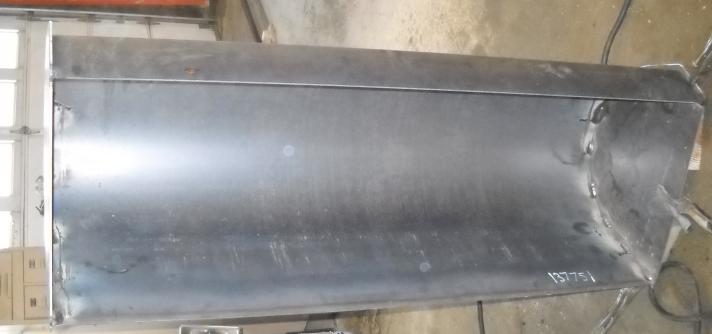
Here is the completed bucket before wirebrushing and painting.
A side view showing the angle iron reinforcement on the endcaps. I had a brain cramp and didn't take any pictures, but the bucket was primed with POR-15 and then painted with a couple of coats of Rustoleum John Deere Green. The Rustoleum has scraped off the bottom some from use, but the POR-15 is holding up fine.